# How to Install a Snooker Table the Professional Way
Buying a snooker table is exciting. But **snooker table installation** is just as important as buying a good one. Even a small mistake during setup — like an uneven slate or a loose cloth — can ruin how the ball rolls. That is why **professional snooker table installation** matters so much, and why most buyers choose to have their table installed by an experienced **snooker table manufacturer** like **A Plus Snooker Table**, known as **Pakistan’s No. 1 snooker table manufacturer**, instead of doing it themselves.
In this guide, we explain **how to install a snooker table** in simple steps. Whether you already own a table or are still comparing **snooker table price in Pakistan** options before you buy, this will help you understand what a good **snooker table setup** actually involves.
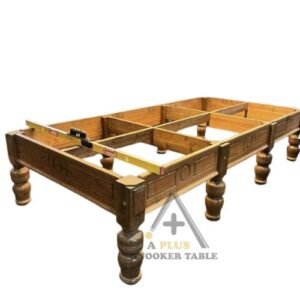
## Step 1: Prepare the Room First
Before your **snooker table** arrives, the room needs to be ready.
– Make sure there is enough space around the table for players to move the cue freely. For a full-size 6×12 snooker table, you need around 5 meters by 3.5 meters of clear space.
– The floor should be solid and flat. Wooden floors may need extra support. Concrete floors with carpet usually work best for a stable **snooker table setup**.
– Check that the ceiling is high enough, at least around 3 meters, so players can raise the cue comfortably.
A good room setup makes the rest of the **snooker table installation** process much easier — and it’s one of the first things buyers searching for a “**snooker table near me**” ask us about.
## Step 2: Build and Level the Frame
The frame is the base of the whole table. It holds the heavy slate and everything else on top of it.
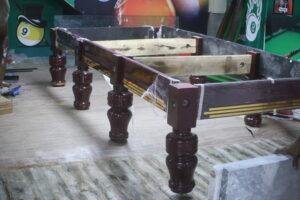
– The wooden or steel frame is assembled piece by piece.
– Every corner is checked with a spirit level to make sure the frame is perfectly flat.
– The legs and support beams are tightened so the frame does not wobble.
If the frame is not level, nothing built on top of it — including the **snooker table slate** — will be level either. This is why professional installers spend extra time on this step.
## Step 3: Install and Level the Snooker Table Slate
This is the most important step in the whole **snooker table installation** process.
– Most tables use **slate** in three heavy pieces. Each piece needs two or three people to lift safely.
– The slate pieces are placed on the frame and joined together at the seams.
– A precision level tool is used across every part of the **snooker table slate**. Even a gap as small as one or two millimeters can make the ball roll in the wrong direction.
– The seams are filled and sanded so the surface feels smooth all over, like one solid piece.
This step needs patience and the right tools, which is the main reason **professional snooker table installation** is always recommended over doing it yourself.
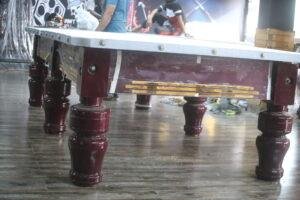
## Step 4: Fit the Cushions
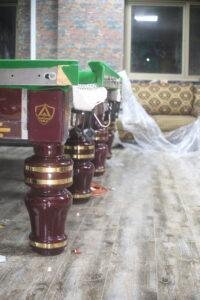
The cushions are the rubber edges around the table that make the ball bounce back correctly.
– They are fitted onto the wooden rail frame around all sides of the **snooker table**.
– The height and angle of each cushion must be exact, or the ball will bounce unevenly.
– Once positioned correctly, the cushions are bolted firmly onto the slate bed frame.
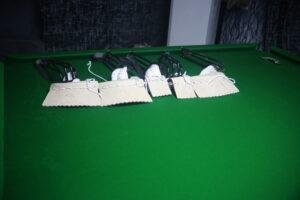

## Step 5: Fit the Cloth
The cloth, also called baize, covers the slate and cushions.
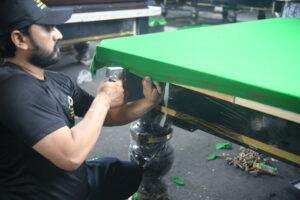
– It is stretched tightly over the table, working from the center outward, so there are no wrinkles or loose spots.
– The cloth is fixed underneath the table with staples or tacks.
– Finally, the baulk line, the D, and the spots (like the center spot and pyramid spot) are marked using a proper template, so the **snooker table** is ready for official play.
A poorly fitted cloth will cause the ball to slow down unevenly or drift to one side, so this step needs a steady, experienced hand.
## Step 6: Install the Pockets
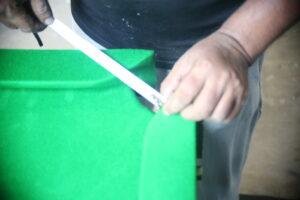
The leather or net pockets are attached at the six corners and side openings of the **snooker table**. They need to line up perfectly with the cushion openings so the ball falls in smoothly every time.
## Step 7: Final Level Check
Once everything is assembled, the whole **snooker table setup** is checked again with a level tool. Sometimes small shifts happen during assembly, so this final check makes sure everything is still perfect.
A simple test: roll a ball gently from different points on the table. On a properly installed **snooker table**, it should roll in a straight line without drifting.
## Step 8: Finishing Touches
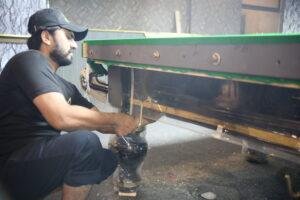
– The wooden rails and frame are polished for a clean look.
– The cloth is brushed gently to remove any dust from assembly.
– Accessories like the cue rack, scoreboard, and overhead light are set up, with the light centered directly above the **snooker table**.

## Why Professional Snooker Table Installation Matters
A **snooker table** is a precision investment. Even a well-made table will not play well if it is installed incorrectly. A one or two millimeter mistake in the **slate** leveling can affect every single shot.
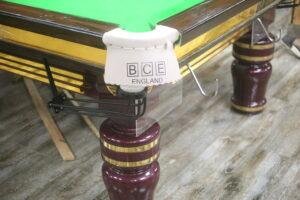
Professional installers bring the right tools, the right experience, and the patience needed to get every step exactly right. This protects your investment and makes sure your table plays exactly the way it should, for years to come.
If you are comparing **snooker table price in Pakistan** options or searching for a trusted **snooker table manufacturer** near you, always ask whether professional installation is included. It is the difference between a table that looks good and a table that plays perfectly.
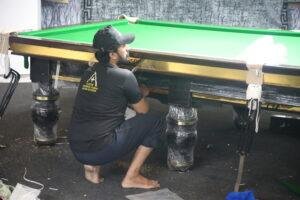
At **A Plus Snooker Table**, recognized as **Pakistan No. 1 Snooker Table Manufacturer**, every table comes with expert, precision installation — so you get the perfect game, every time.